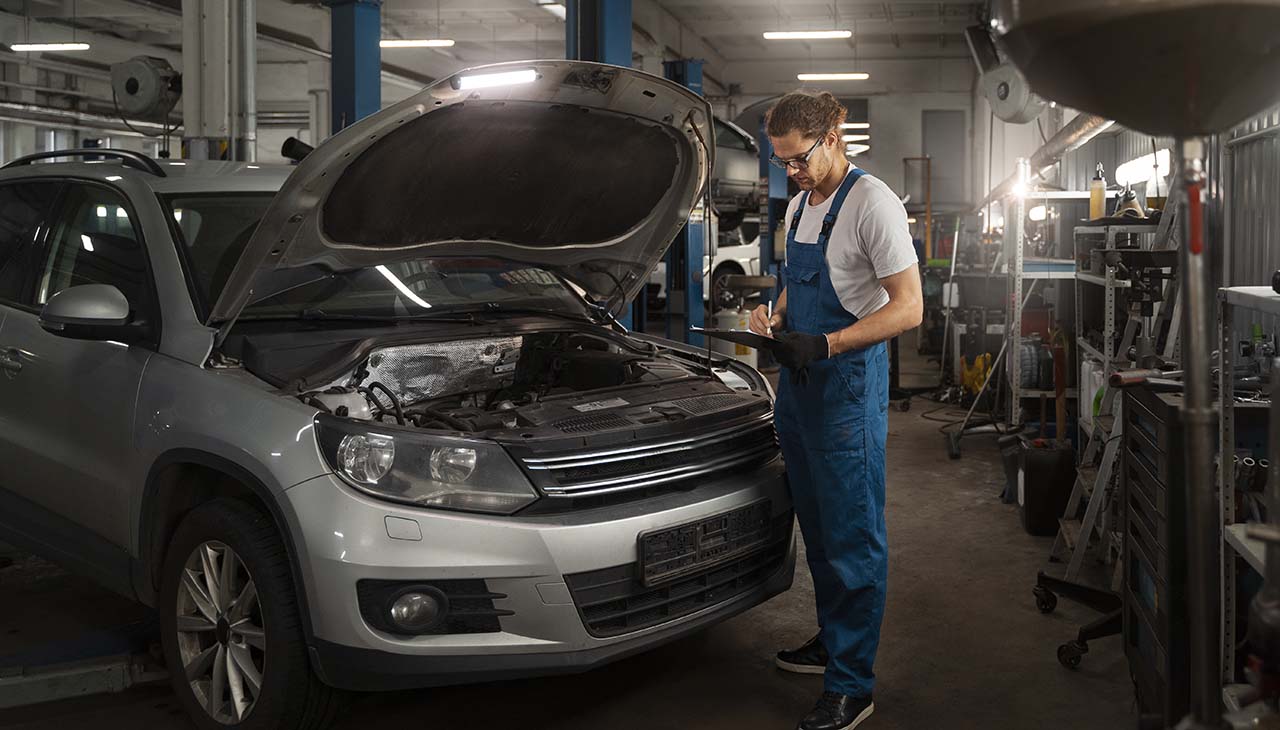
In recent years, the popularity of DIY car repairs has skyrocketed. For many car enthusiasts and beginner mechanics, the thrill of working on their vehicles is both satisfying and cost-effective. Whether driven by a passion for cars or the desire to save money on labor costs, more individuals are rolling up their sleeves and diving into car repair projects. This guide aims to help you navigate the basics of DIY car repairs, ensuring you can tackle common issues with confidence and skill.
Importance of Basic Car Part Maintenance for Vehicle Longevity
Maintaining your car is crucial for its longevity and performance. Regular upkeep not only ensures that your vehicle runs smoothly but also prevents costly repairs down the line. Here are a few reasons why basic car maintenance is essential:
- Preventive Care: Regular maintenance helps identify potential issues before they become major problems.
- Safety: Ensuring all parts are functioning correctly can prevent accidents and improve overall driving safety.
- Cost Savings: Addressing small issues early can save you from expensive repairs in the future.
- Resale Value: A well-maintained car retains its value better than a neglected one.
Essential Tools Every DIY Enthusiast Should Have in Their Arsenal
Before you start working on your car, it’s essential to have the right tools. Here are some must-have items for any DIY enthusiast:
- Socket Set: A comprehensive socket set is crucial for loosening and tightening bolts.
- Wrench Set: Different sizes of wrenches will come in handy for various tasks.
- Screwdrivers: Both flathead and Phillips screwdrivers are necessary for most repairs.
- Jack and Jack Stands: Proper lifting equipment ensures you can safely access the underside of your vehicle.
- Pliers: Needle-nose and adjustable pliers are useful for gripping and maneuvering parts.
- Torque Wrench: Ensures bolts are tightened to the manufacturer’s specifications.
- Oil Filter Wrench: Makes removing oil filters a breeze.
- Brake Bleeder Kit: Essential for replacing brake fluid.
- Work Light: Proper illumination is crucial for working in dimly lit areas.
Step-by-Step Guide to Replacing Common Car Parts
Replacing Brake Pads
- Preparation: Ensure your car is on a flat surface. Loosen the lug nuts on the wheels, then lift the car using a jack and secure it with jack stands.
- Remove the Wheel: Fully remove the lug nuts and take off the wheel.
- Access the Brake Caliper: Locate the brake caliper and remove the bolts holding it in place.
- Remove Old Brake Pads: Slide out the old brake pads and inspect the caliper for wear.
- Insert New Brake Pads: Place the new brake pads into the caliper bracket.
- Reassemble: Reattach the brake caliper and bolts, replace the wheel, and tighten the lug nuts.
Changing the Oil Filter
- Preparation: Warm up the engine to loosen the oil. Place the car on a flat surface, lift it with a jack, and secure it with jack stands.
- Drain Old Oil: Place an oil pan under the drain plug, remove the plug, and allow the old oil to drain completely.
- Remove Old Oil Filter: Use an oil filter wrench to remove the old filter.
- Install New Oil Filter: Apply a small amount of new oil to the rubber gasket of the new filter, then screw it in place by hand.
- Refill Oil: Replace the drain plug, lower the car, and refill the engine with the recommended type and amount of oil.
Changing Spark Plugs
- Locate Spark Plugs: Consult your owner’s manual to find the spark plug locations.
- Remove Ignition Coils: Disconnect the ignition coils to access the spark plugs.
- Remove Old Spark Plugs: Use a spark plug socket to remove the old plugs.
- Install New Spark Plugs: Hand-thread the new spark plugs, then tighten them with the spark plug socket.
- Reattach Ignition Coils: Reconnect the ignition coils and ensure everything is secure.
Safety First – Tips on How to Stay Safe While Working on Your Car
Safety is paramount when working on your car. Here are some essential safety tips to keep in mind:
- Wear Protective Gear: Always wear safety glasses, gloves, and appropriate clothing to protect against injuries.
- Work in a Well-Ventilated Area: Ensure your workspace is well-ventilated, especially when working with chemicals or running the engine.
- Use Jack Stands: Never rely solely on a jack to support your car. Always use jack stands to ensure stability.
- Disconnect the Battery: When working on electrical components, disconnect the battery to avoid shocks or shorts.
- Follow Manufacturer’s Instructions: Always refer to your car’s manual and follow the recommended procedures and torque specifications.
Conclusion – Encouragement and Resources for Continued Learning and Improvement
Embarking on a journey of DIY car repairs can be incredibly rewarding. Not only does it save you money, but it also gives you a deeper understanding of how your vehicle functions. Remember, practice makes perfect, and don’t be discouraged if things don’t go smoothly at first. There are countless resources available to help you continue learning and improving your skills:
- Online Tutorials: Websites like YouTube offer step-by-step video guides for various car repairs.
- Forums and Communities: Join online forums and social media groups where you can ask questions and share experiences with fellow DIY enthusiasts.
- Workshops and Classes: Consider attending local workshops or classes to gain hands-on experience and guidance from professionals.
- Books and Manuals: Invest in repair manuals specific to your car model for detailed instructions and diagrams.
By embracing the world of DIY car repairs, you’ll not only become more self-sufficient but also foster a sense of pride in maintaining your vehicle. So grab your tools, get your hands dirty, and enjoy the journey of becoming a proficient DIY mechanic!

